Changing a rim on your tyre is often an easy and straightforward process, but how do you know how to change the rim on your tyre? It can be difficult if you have never done it before. This post will show you how to change a tyre on a rim, step by step. You’re going to love how easy this tutorial is!
First, loosen the lug nuts on the rim. It is best to use a rim lever during this process. Insert your tire lever inside of one lug hole and place it under the lip that juts out off of each side. Place your rim lever on the opposite side of where you need to change it. You want to create some room between the socket and rim for when we remove the nut.
List Of Rim Changing Tools
The right tools for the job are truly important. These include:
Knife to cut through any rubber straps which keep certain parts of the tyre in place
Screwdriver for removing existing bolts on car wheel rims
Socket wrench or electric drill, with a socket that matches bolt size and torque rating (optional)
Wheel brace: this is used as an extra tool to help hold the tire steady while working on it
Tire pressure gauge
Grease pencil to mark how much air you let out of the tire before removing it from the rim
How To Cut The Bead On The Rim?
You will need to cut the bead of the rim in order for it to fit around the tyre. To cut it, look at the seam running beside the bead, carefully insert the tyre lever under it and pull. The bead will crack and you can then pry up on the rim with your hands to separate it from the wheel itself.
What Size Hole Punch Do I Need?
The easiest way is to use a small screwdriver as an alternative, but if unavailable, get one that matches the diameter of your new inner tube’s valve stem (typically between 13mm-17mm). You want a hole that is big enough for this valve stem so make sure not to oversize or undersize too much!
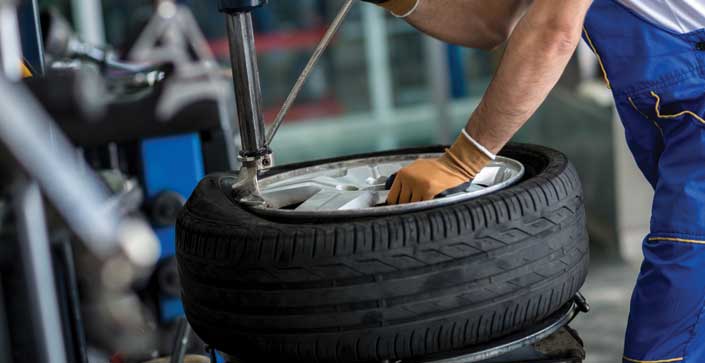
Use Grease to the whole rim: After breaking the bead, grease the whole rim with grease. Put some of this grease between the tyre and the wheel’s bead to help it lie on more easily. Apply a generous amount to where you’ll be working, as well as around the rest of the rim edge.
Remove The Rim From The Tyre
With the tyre and wheel flat on the ground, loosen the wheel nuts by turning them counterclockwise until they come off. Then, using a spare tyre lever or some stiff wire, pull each of the four tyres away from their respective rims so that you can access the bolts holding it to the hub. A additional resources form here.
Set A New Rim On The Tyre

Finally, the new rim is on the tyre. This may seem like a trivial step, but it’s important to make sure that the tyre and wheel are compatible with one another before proceeding any further.